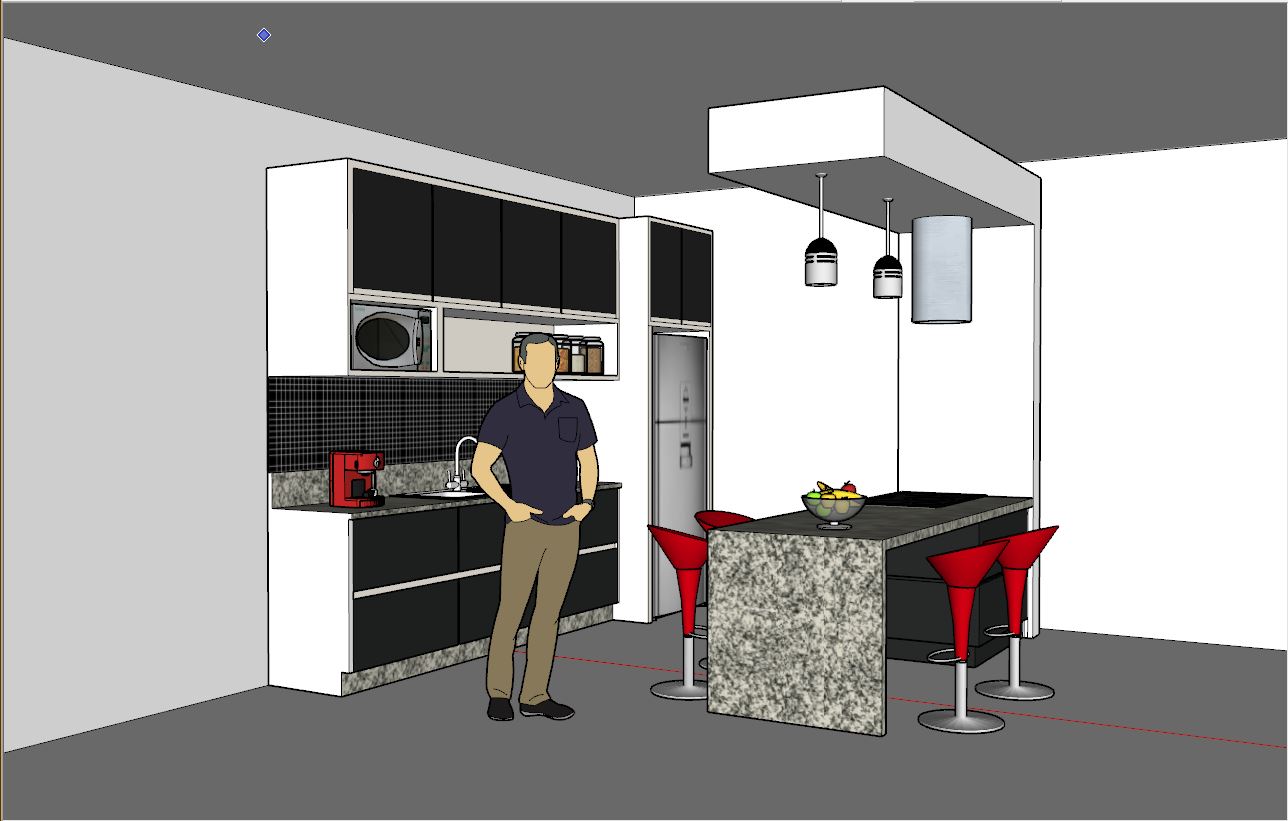
We will start with a kitchen scene, downloaded from the SketchUp 3d Warehouse, with some walls added:
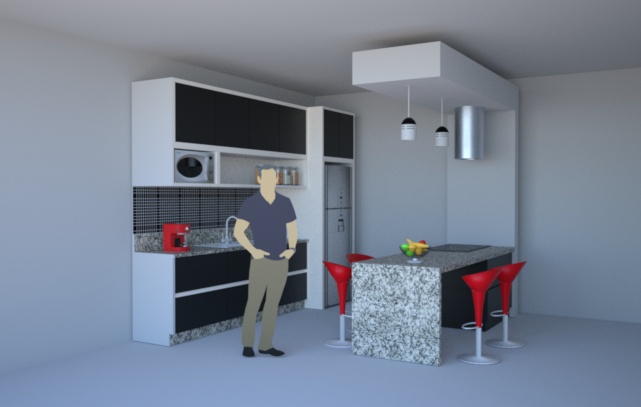
By default this will render in Indigo with Sun+sky illumination, resulting in a render like this:
We now want to set up the lights hanging above the bench so they emit enough light to be visible.
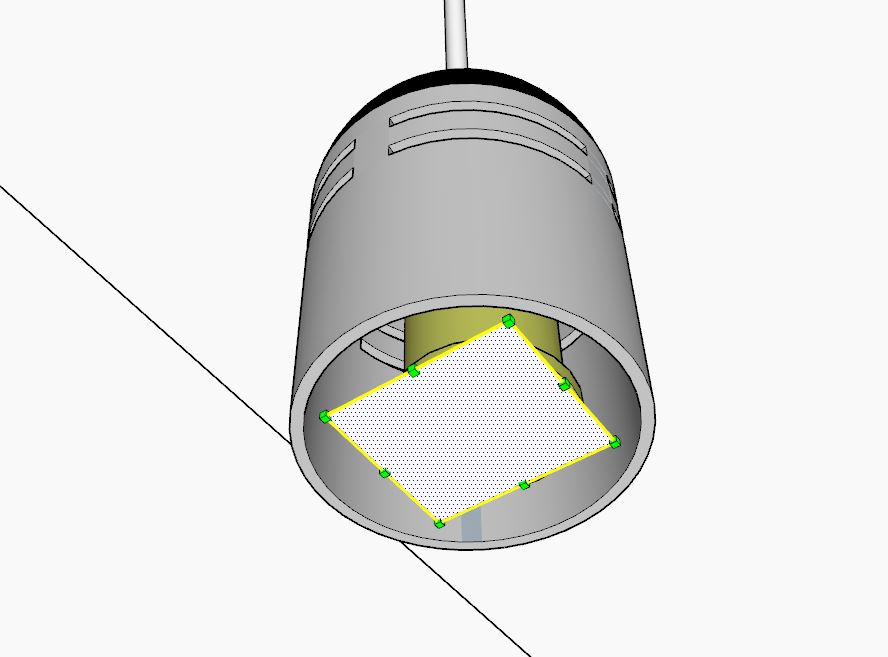
First off, we want to add a quad in each light fixture which will emit the light.
A single quad results in the most efficient rendering. The quad should not be too small (otherwise it will make specular reflections noisier). It is also important that the front side of the quad is pointing down - as in Indigo by default, light is emitted from the front side of a surface only.
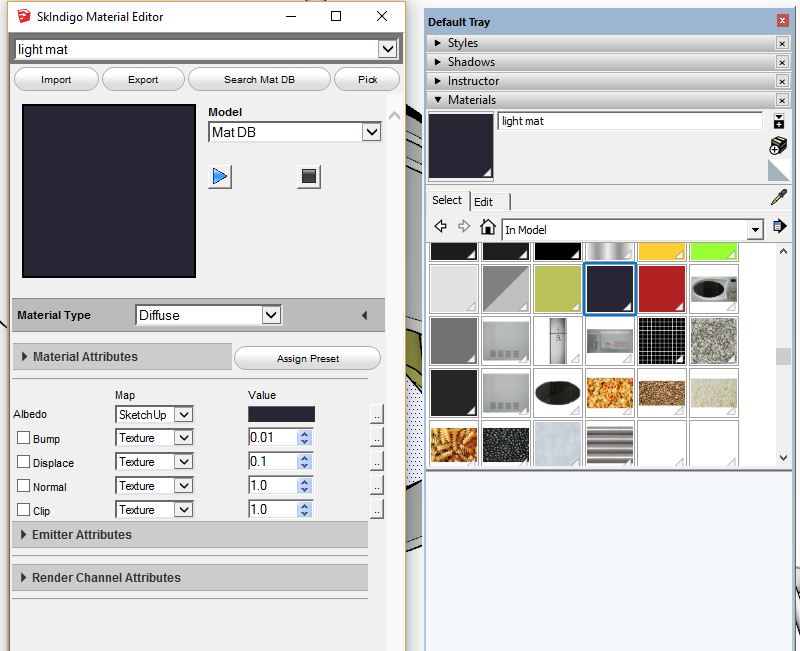
The next step is to create a new SketchUp material. I have called mine 'light mat'. Since I have the SkIndigo material editor open (you can open the SkIndigo material editor from the SkIndigo toolbar) it shows and allows me to edit the 'light mat'. You will also want to assign the your new material to the new quads you have created.
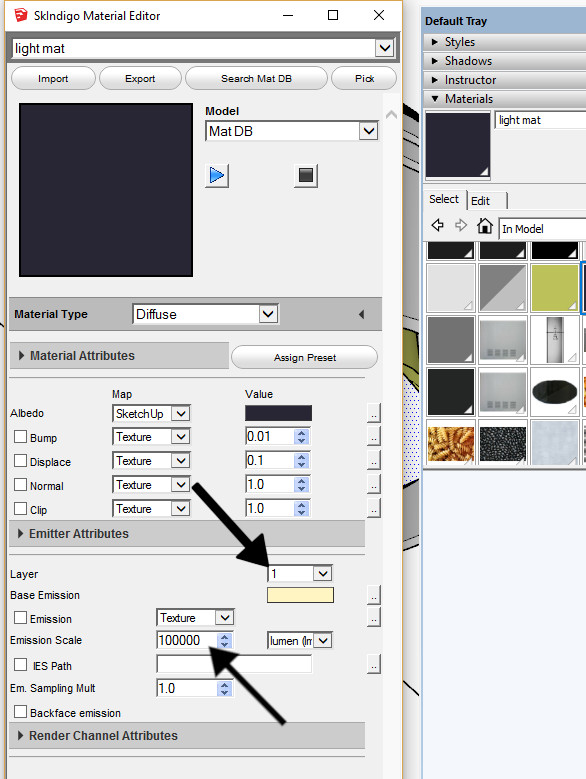
The next step is to edit your new material so it emits light.
You can do this by expanding the Emitter Attributes section, then setting the Layer to something like 1,
and setting the Emission Scale to something like 100000 lm.
Note that the emission scale needs to be very high for the light to be easily visible in daylight.
And that's all there is to it!
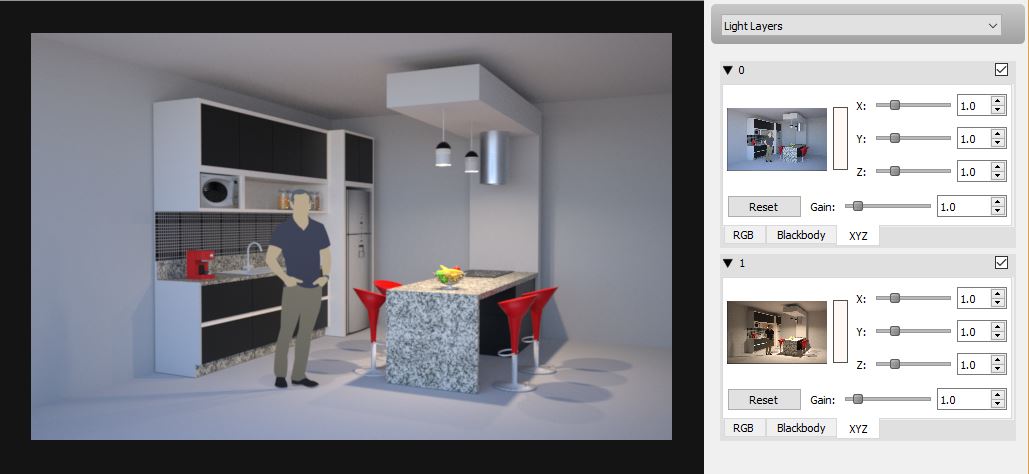
Since we put the interior lights on light layer 1, we can use the light layer controls in Indigo to view the contribution of the interior lights separately from the sun+sky lighting (see the layer thumbnails on the right):