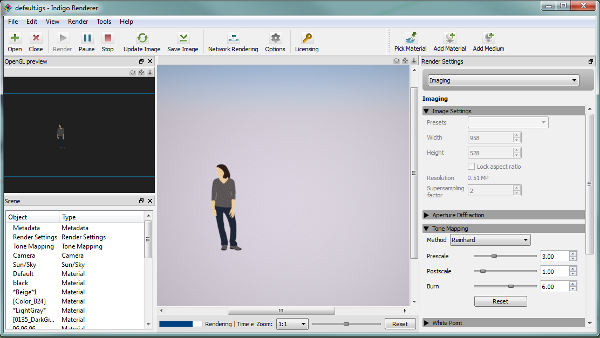
This tutorial will cover getting Indigo running with Google SketchUp on your computer running Microsoft Windows. We will use the SkIndigo exporter to export scenes from SketchUp to Indigo.
You can use either the free or the commercially licensed Indigo version to follow this tutorial; the free version will add a watermark to the final renders and limit the resolution to 0.7 megapixels.
Step 1: Install SketchUp
If you already have SketchUp installed, you can skip this step.
Download and install SketchUp from here: http://www.sketchup.com/intl/en/download/
Step 2: Download Indigo Renderer
The latest version of Indigo Renderer can be downloaded from this page: http://www.indigorenderer.com/download-indigo-renderer
If you have a 32-bit operating system, or you are not sure, download Indigo Renderer for Windows 32-bit.
If you have a 64-bit operating system, download Indigo Renderer for Windows 64-bit.
Step 3: Install Indigo Renderer
Once you have downloaded the Indigo installer program in Step 2, run the installer program.
If the installer asks you 'Do you want to allow the following program to make changes to this computer,' select 'Yes.' Please carefully read the licence agreement, then click 'I Agree.'
On the 'Choose Components' page, leave all components selected, and press 'Next >'
On the 'Choose Install Location' page, leave the Destination Folder as it is, and press 'Install.'
Press 'Finish'. Indigo will open after installation; close it for now, since we'll be using it via SkIndigo.
Step 4: Open Sketchup
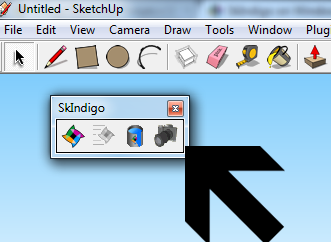
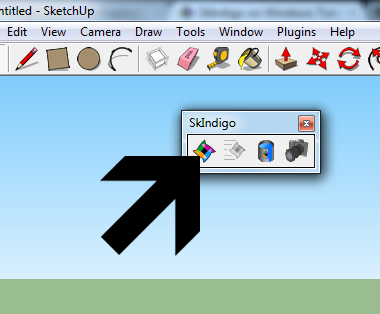
You should now see the new SkIndigo tool bar:
Step 5: Enable extension in SketchUp 2016
In SketchUp 2016 you may need to enable the extension in the preferences.
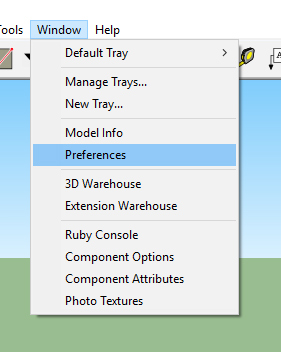
Select Window > Preferences from the main menu.
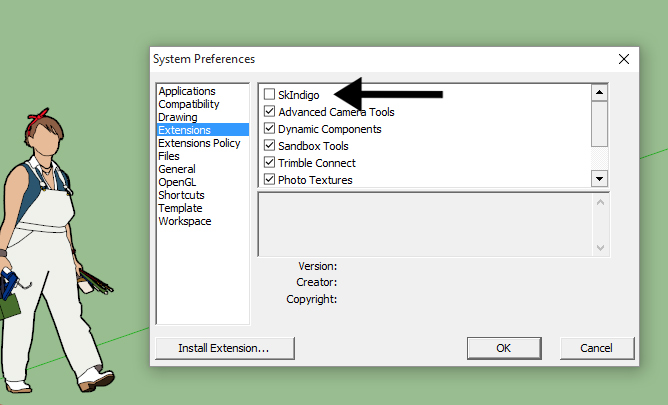
Under Extensions, enable SkIndigo.
Step 6: Render with Indigo
Press the 'Render with Indigo' button in the SkIndigo tool bar:
If everything has been installed successfully, Indigo should launch, and start rendering the default scene immediately:
