This tutorial applies to Indigo Renderer only.
This is a short tutorial explaining the use of section planes with Indigo for Blender.
Requirements
You will need to have Indigo for Blender (Blendigo) 3.4.9.1 or newer installed, as well as Blender and Indigo.
Steps
Step 1
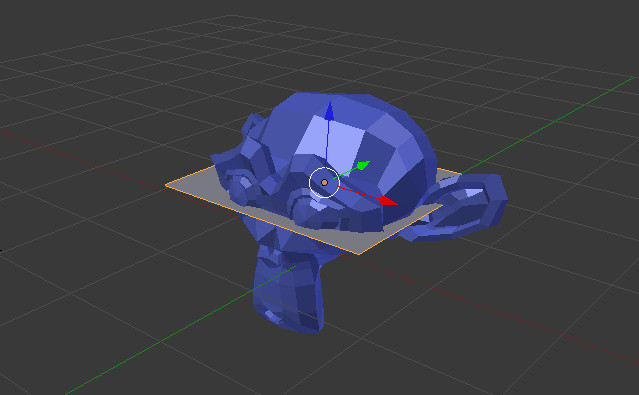
Start with an empty blender scene, then add a Suzanne mesh and a sun lamp.

Step 2
Now we will add an object that represents the section plane.
We will use a plane for this.
So add the object by using the 'Add' -> 'Mesh' -> 'Plane' command.
Position the object so that it intersects the Suzanne mesh. This is just so we can see exactly how the Suzanne mesh will be affected.

Everything below this plane will be removed or be made invisible.
We want to remove stuff above the plane, so rotate the plane by 180 degrees in the y axis.
Step 3
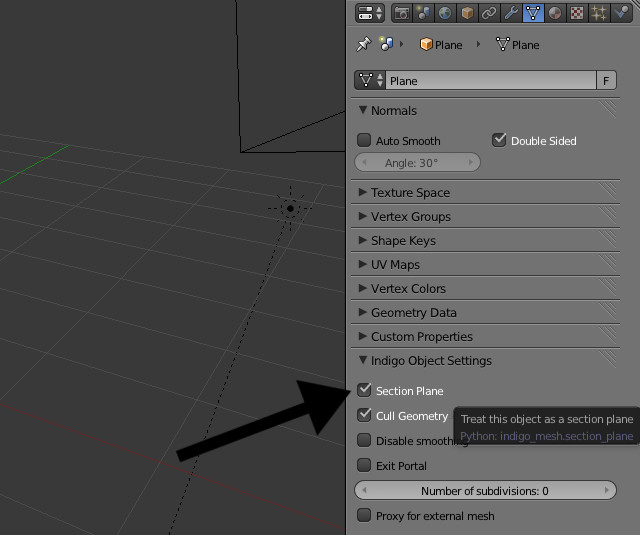
Now select the plane object, then enable the section plane tickbox. This will make the plane object into
a section plane.

Step 4
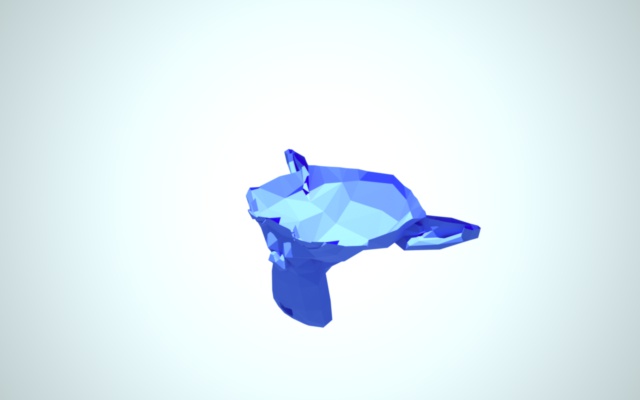
Now render the scene. It should look like this:

Because 'Cull Geometry' was ticked (the 'Cull Geometry' tickbox is located beneath the 'Section Plane' tickbox), everything above the section plane was removed. This allows light from the sun and sky model to illuminate the interior of the Suzanne model.
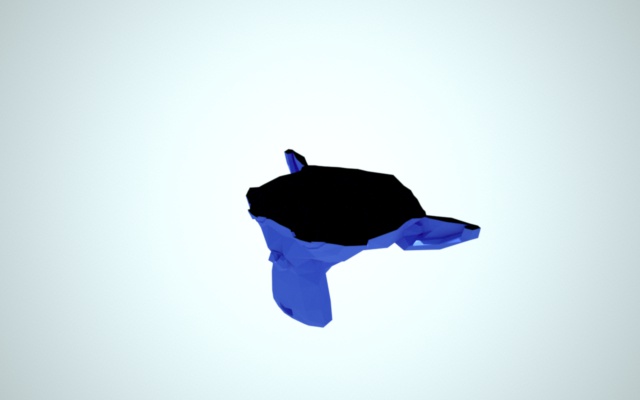
If 'Cull Geometry' is unticked, then the top half of the Suzanne model is still there, it's just invisible to the camera. This means that it blocks light from the sun and sky, resulting in a black interior:


