
This technique is a bit of a cheat really. It involves taking a picture of a background that you would otherwise composite, and texturing them onto a large flat plane. The trick is to get a large enough image that it fills the whole background of the render.
- Create a massive plane that sits directly behind your model, and fills the camera's view. Texture it with your background image and resize it so it fits nicely.
- Copy this front image plane and mirror it behind the camera to create a back-plane.
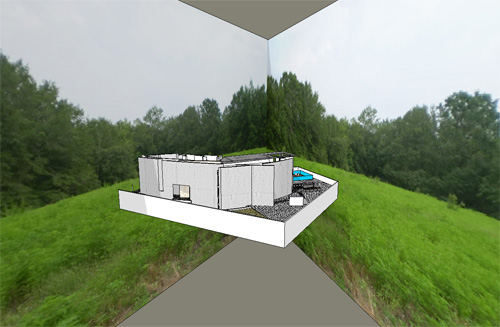
Sketchup scene with massive image planes arranged - To create a convincing background, light must come from the image planes, or they will catch shadows and look fake. Add emission to the textured material, as an emission texture. This will emit light from the surface based on the texture itself. In SketchUp, simply change Emission to SketchUp. I've also set the emission color to white and power to 200.
- Render with sun & sky for good shadows, or you could even just use background colour.
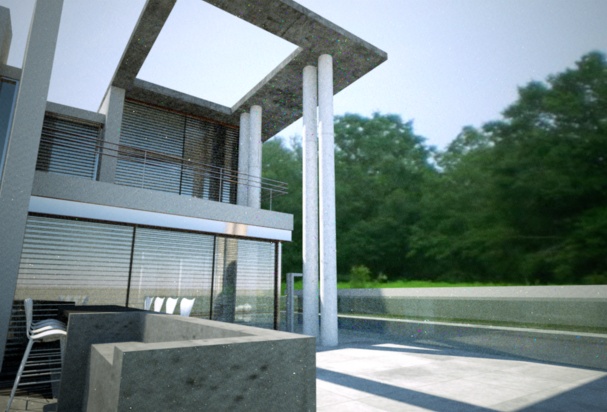
Render with only a front image plane
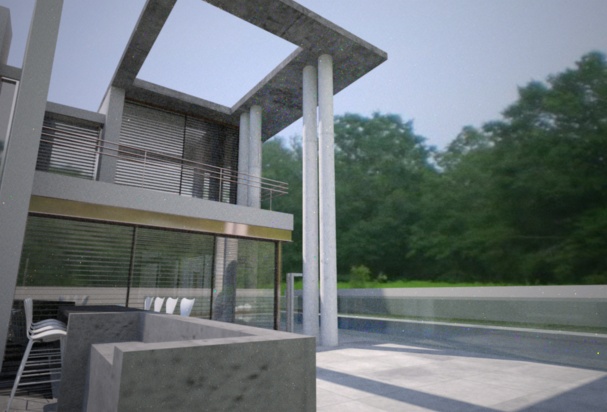
Final render
Result: (excuse the tonemapping) The bottom has reflections in the windows and a mostly convincing background. It looks alright.