indigo/blendigo 104 noob lighting tutorial?

Announcements, requests and support regarding the Blender Indigo export script

did u find this thread useful?

yes
15
88%
no
1
6%
somewhat
1
6%
 
Total votes: 17

pxl666
Posts: 308
Joined: Wed Oct 10, 2007 10:10 pm

indigo/blendigo 104 noob lighting tutorial?

Post by pxl666 » Wed Dec 26, 2007 2:10 am

hi
this is my 1st attempt to do such a thing so pleez excuse me my mistakes.
for i had many problems understanding indigo's lighting system i want make something like a introduction for newbies. what i want to do is a set of simple scenes that wuld help understand lighting basics...its also for me to store things i could forget...

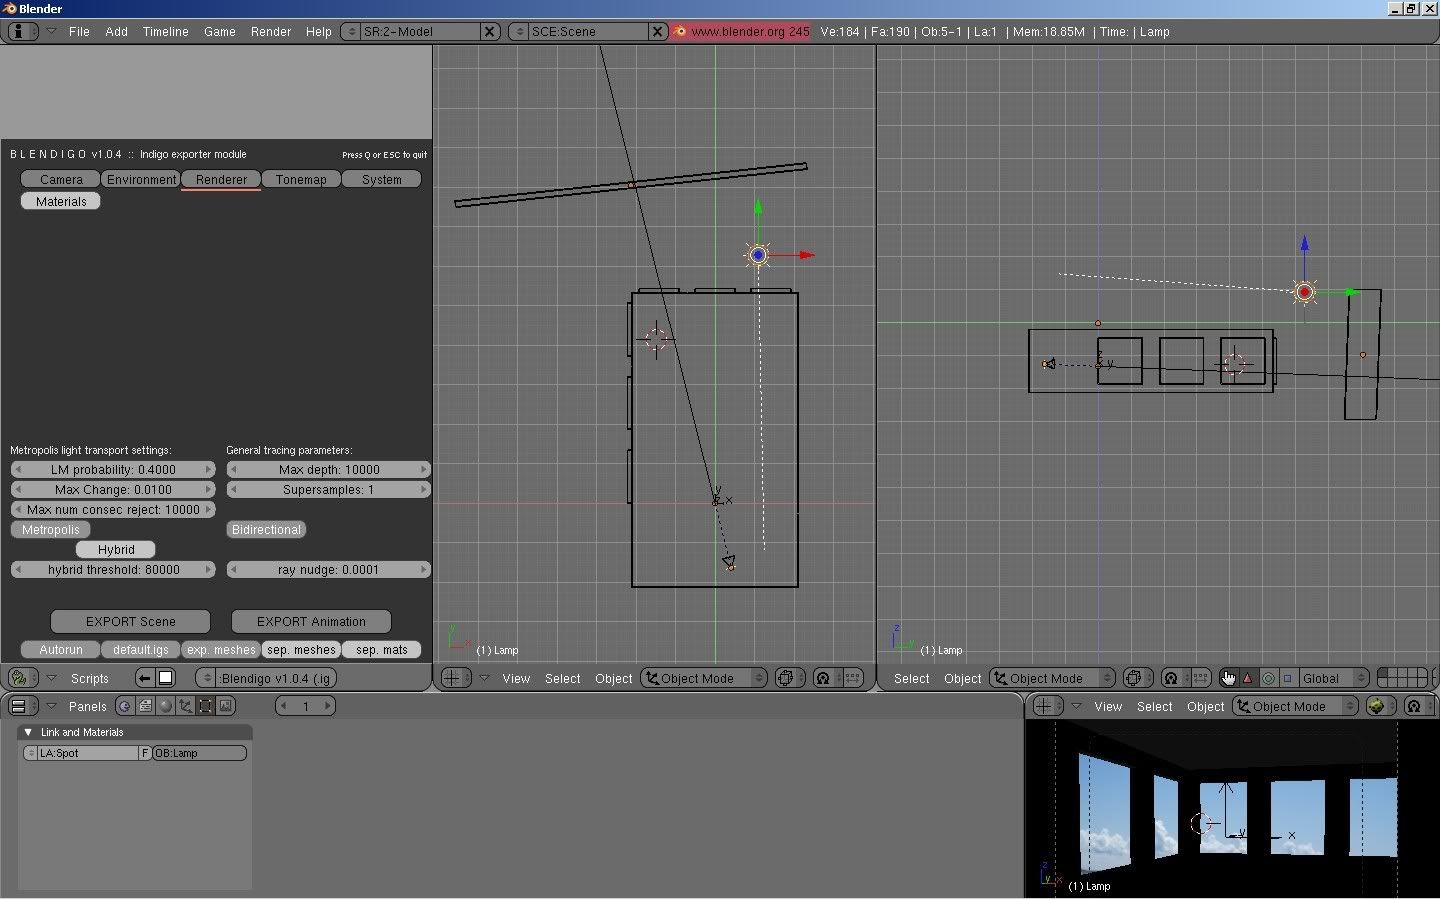
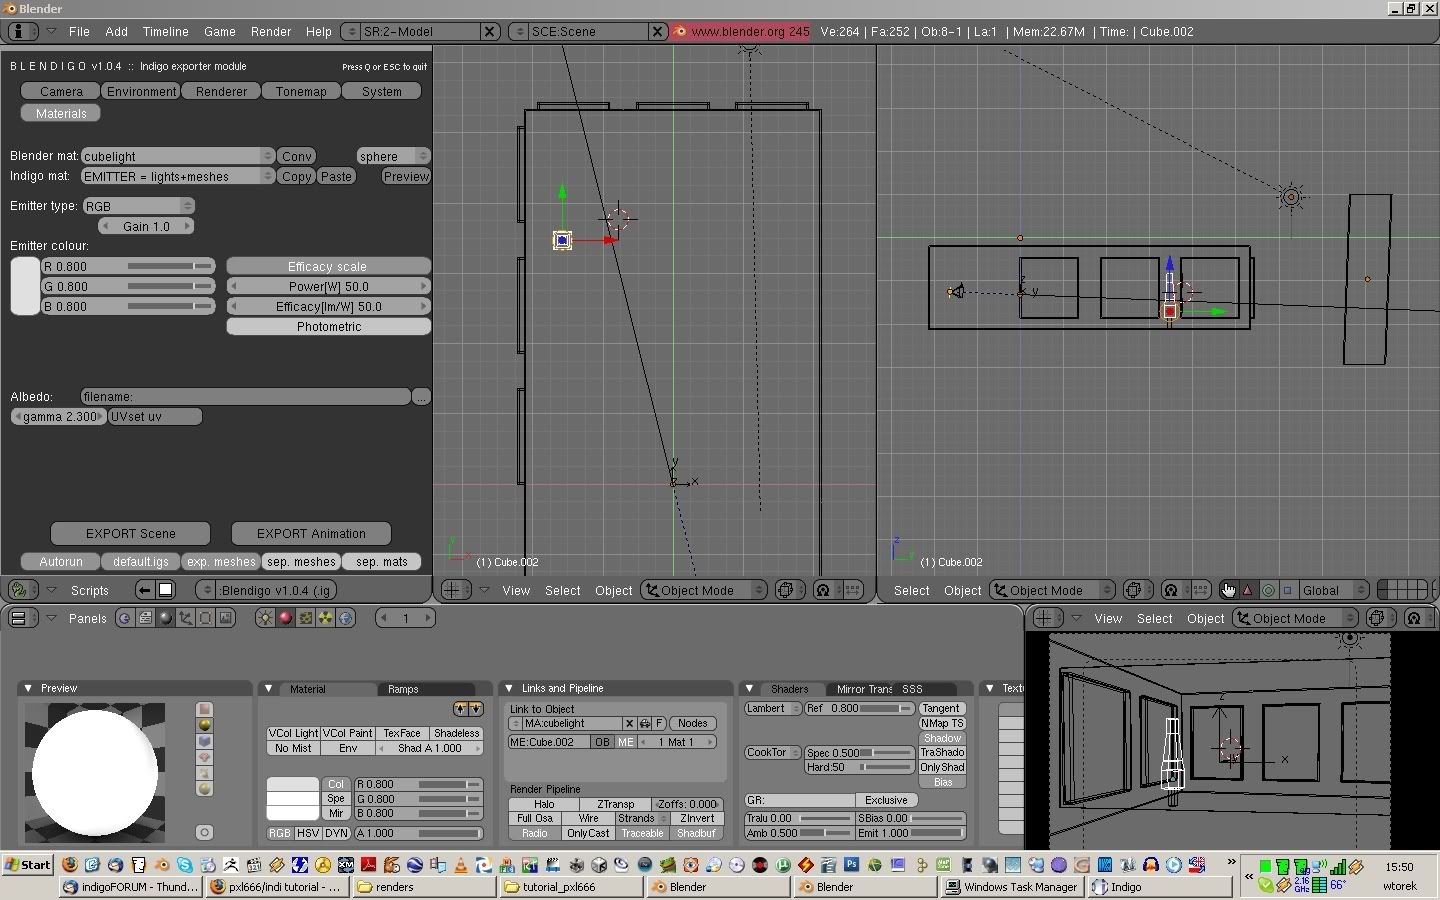
so heres my testscene setup - room with windows and glass and sun above and background plane to simulate real world. to add volume for meshes i use solidify selection script . there is a simple clouds texture UV mapped on the background plane. render settings are as follow - i have takem them from CoolColJ's thread about perfect render settigs.
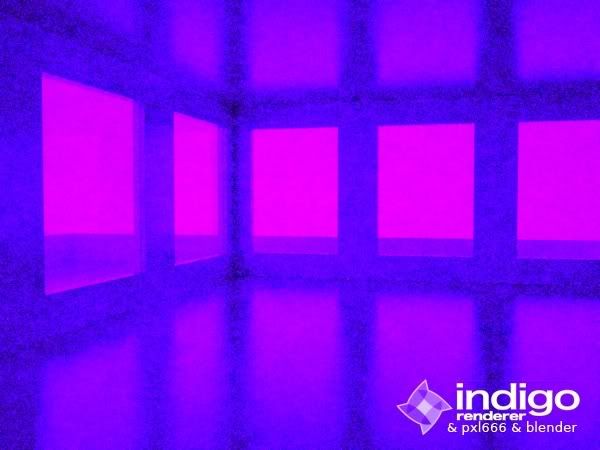
in this render sun is almost straight above
Image
heres 13min render
Image

now u see sun is much lower - in blender sun position is irrelevant - the ray direction is important!
Image
10 min render
Image

and finally sun is lower than sea level
Image
10 min render
Image

now we have "midnight sun" requested by kram
setup
Image

and render
Image


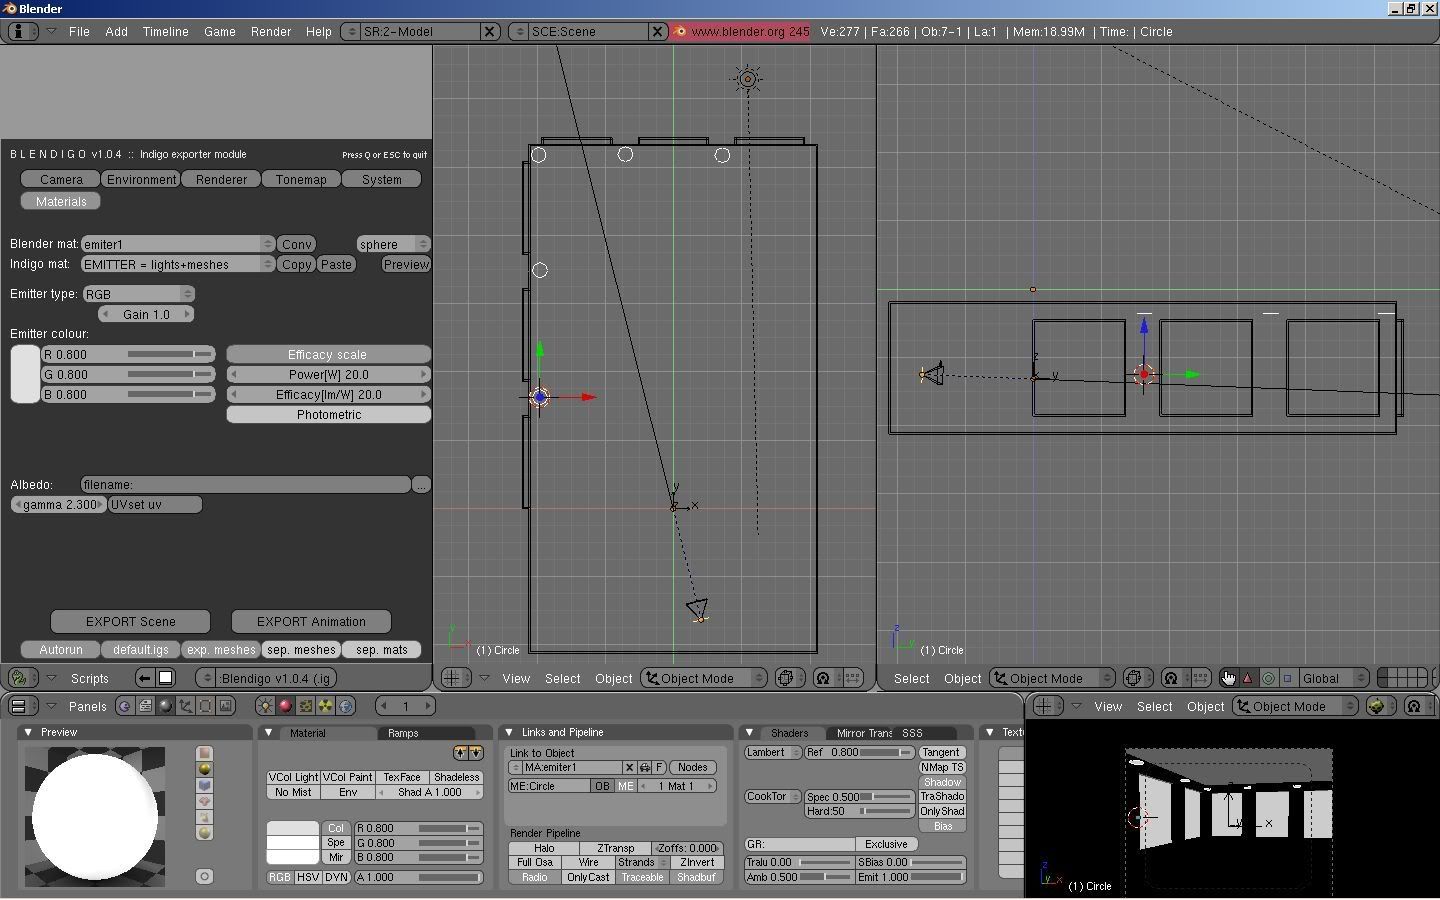
now we'll play with emiters - these lights are made of flat surface - 8 faces round, and eff scale power
Image
render
Image

and same surfaces but with photometrics IES15
Image
render
Image
and some different ies prefs - from 1 - 5
Image

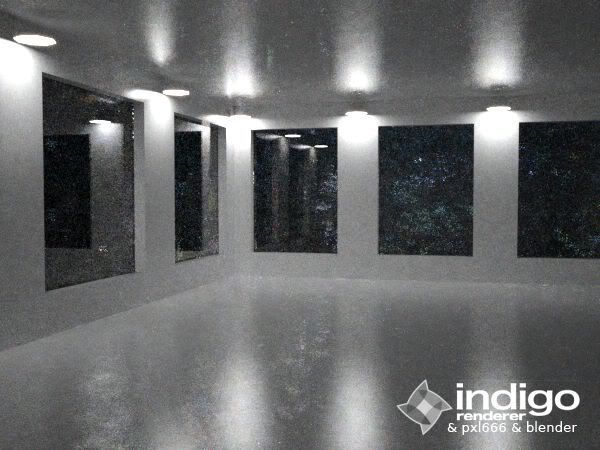
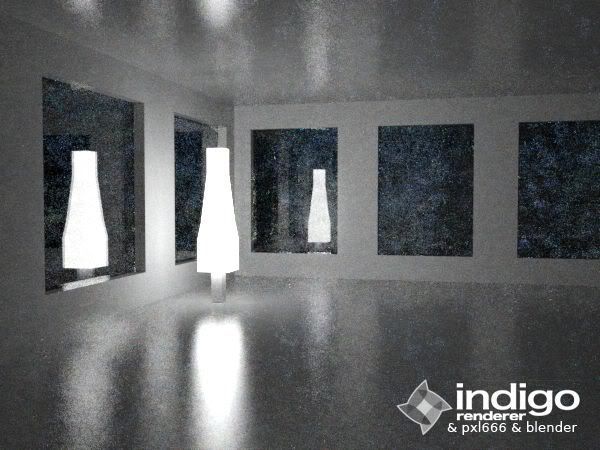
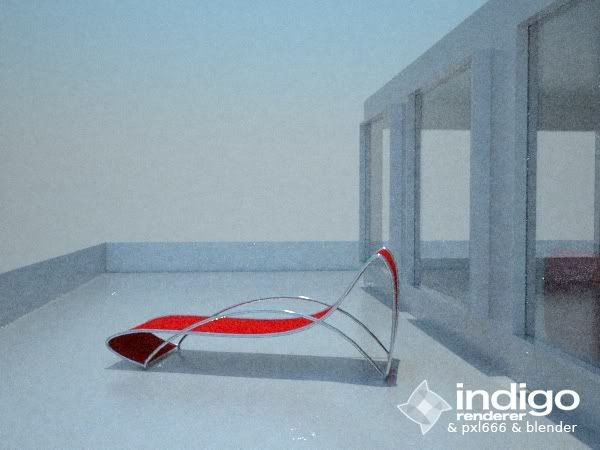
now we have scene lit by meshlight - lampshade simulation - efficacy scale 20/20
Image
render
Image

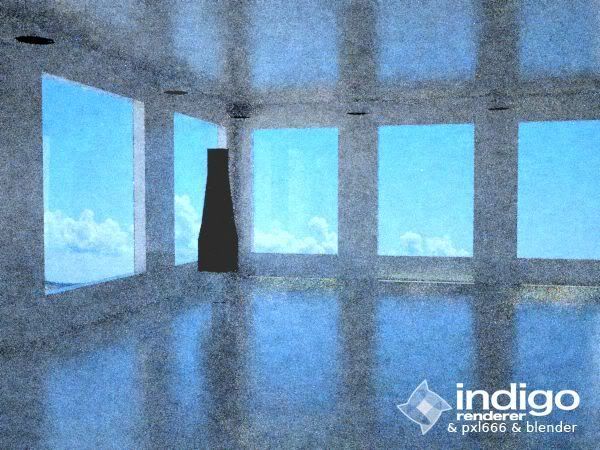
and here u have scene where big background mesh stands for a lightsource - its UV textured mesh emitter
Image

Image


now weird things start to happen

this scene is lit by sun and emitters - but the emitters remained unchanged since last scene - and as u see they are simply too "weak" compared to sunlight
Image

so...to get things right - ceiling lights are 200p/200eff and meshlight is 600/600...looks right now? i dont know why sun complicates things like that but...well...indigo is free!
Image

next test is still about emitters and sun but now every emitter has different power settings:
ceiling light from left : 50/50 , 75/75 , 100/100 , 200/200 , 400/400
meshlights: left 200/200 right 600/600
understood??

Image


and now i removed emitters and we'll play with sky turbidity -this is 5- hazy
Image
and this is 2 - clear
Image
not a big difference i must admit - we'll check exteriors later on...
thats all 4 today..hope i can edit this post tomorrow...cheers

okay im back on

exterior render - turbidity 2 - clear
Image
and 5 - hazy
Image

coming back to emitters - a little blackbody tests - different light temps
Image
Image

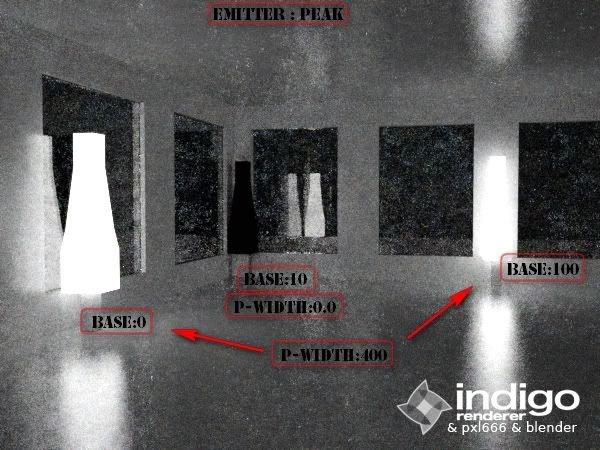
and PEAK emitters - these are a mystery to me...
Image

then i tried some different colours
Image

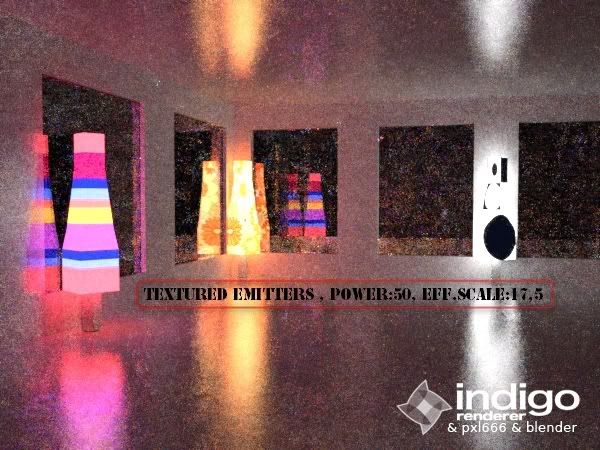
then UV textured my lampshades
Image

and now im trying to get a grip about blending...im waiting for any of more experienced colleagues to explain me this phenomenon - shouldn't blended light be GREEN???
Image

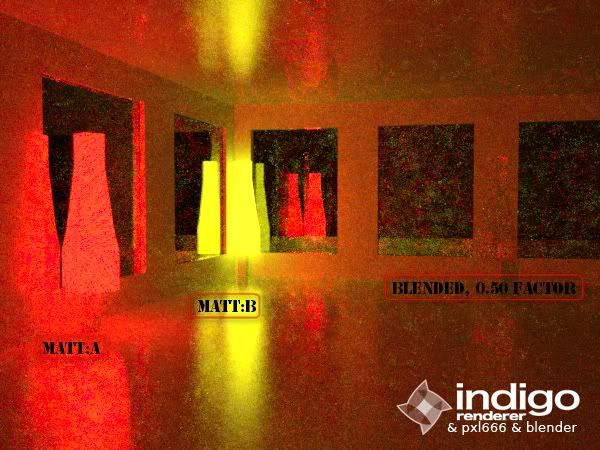
and finally - textured and blended emitter test
Image

cya tomorrow - good night!!

now we have bumpmapped glass test with bacground colour lighting set to white
Image

and same glass scene but instead of bumpmap i used displace - no tex/bump but hipoly meshes created of dispmap
setup
Image
and render
Image

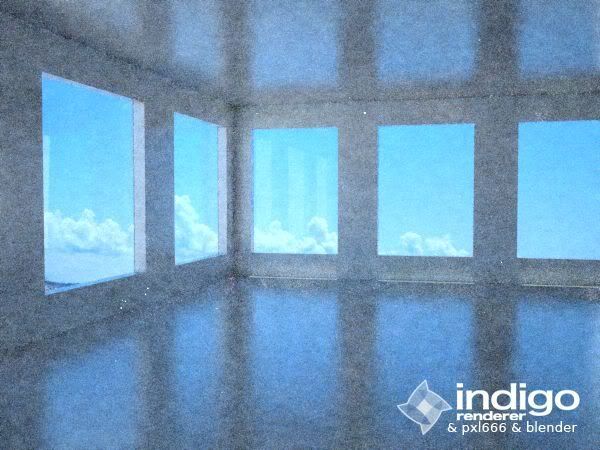
now...here's interior with background lighting set to white
Image
and exterior
Image
with UV mapped skyplane
Image
and with emitters - and again strange things started to happen - i didnt solve it yet (more gain??)
Image
and here it is - same scene - lamps 20/17eff and background has 100gain
Image

heres my quick&dirty test of "howto make a fire"
Image

its UV mapped emitter - it still lacks alpha channel, but after post it could look pretty good

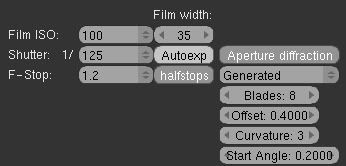
here we have 3 different camera settings - tonemapping is set to "camera"
Image
Image
Image

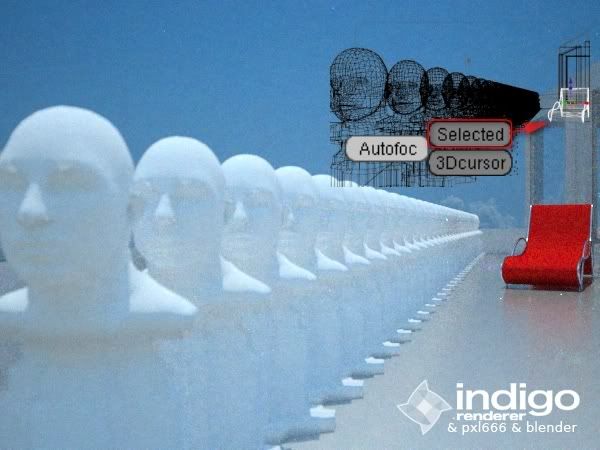
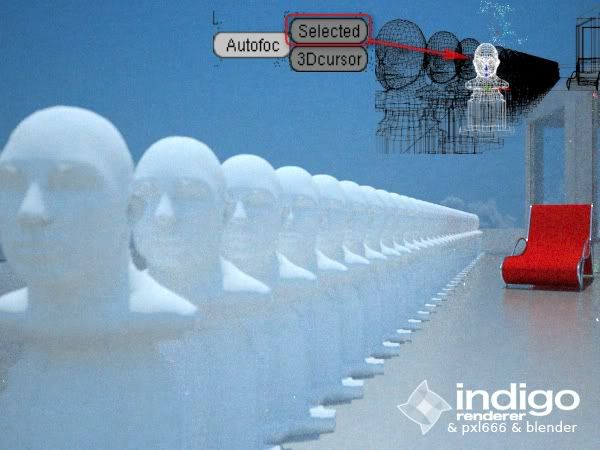
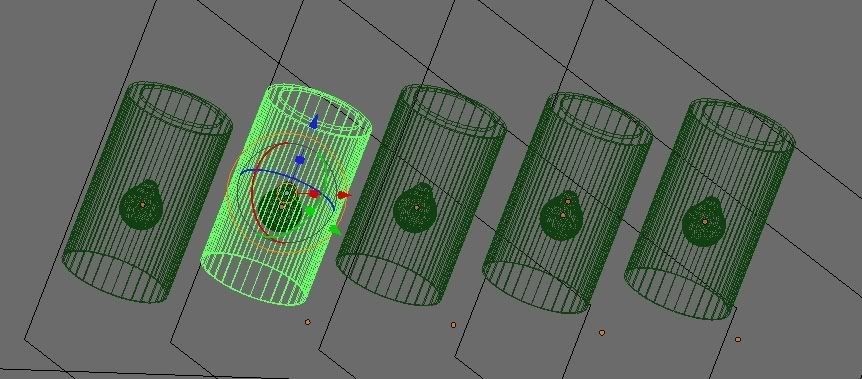
a couple of DOF tests - note that i turned BIDIR off as it produced noiser images within a given rendertime (499s to get things quickly)
Image
Image
Image
Image

-----------------------------------------------------
this test i've done tryin to figure out best lampshade material
this my scene setup
Image
emitter setup (bulb inside a lampshade)
Image
and render
Image

here u have material settings from left to right 1 to 5
Image
Image
Image
Image
Image

hope u'll find this useful!!
-------------------------------------------------------------------------------
Last edited by pxl666 on Thu Feb 21, 2008 4:44 am, edited 17 times in total.

ReinaDelSur
Posts: 16
Joined: Mon Dec 24, 2007 6:37 pm

Great!

Post by ReinaDelSur » Wed Dec 26, 2007 3:18 am

I've just duplicated your little experiment and I must admit this is pretty awesome. Being a noob myself, it's actually really pleasant to have things explained step by step.

About the sun and its position... If I understand you correctly, the position of the sun is irrelevant when it comes to sky color (it being noon or sunset, that kind of stuff) but is it still important for the way shadows will be cast (or does Indigo somehow decide of everything)?

Another question I had was about the sun's energy and distance. Are they relevant or just disregarded once exported to Indigo?

Final question, if I place the sun right in the camera view, does it get rendered? Do I get some lens flares (or do I have to add this in post, which would only sound logical)?

Thanks for the tut, 'twas really good.

Ari ;o)

ReinaDelSur
Posts: 16
Joined: Mon Dec 24, 2007 6:37 pm

Wow! S'more!

Post by ReinaDelSur » Wed Dec 26, 2007 3:25 am

Just after I'd posted my reply it seems you actually added some more stuff... So I guess I have more questions, the main being what's an IES file? (is it something like NKDATA for shaders only it defines accurate light properties?) Where do you get those files? Are they all compatible with Indigo? (I read somewhere around that not all nk files worked well with Indigo, that's why I'm asking)

Thx,

Ari ;o)

pxl666
Posts: 308
Joined: Wed Oct 10, 2007 10:10 pm

Post by pxl666 » Wed Dec 26, 2007 3:52 am

as far as i know only the sunray is taken into consideration by blendigo.
ies files are found in indigo directory , possible only after update with new blendigo (i'm blender user).

looking forward to see ppls tests upon many various indigo issues
cheers!!

User avatar
Pinko5
Posts: 497
Joined: Mon Feb 19, 2007 8:15 pm
Location: Italy

Post by Pinko5 » Wed Dec 26, 2007 4:07 am

WOWWWWW Tnx!!!!!!!
Luca. ;)

User avatar
Kram1032
Posts: 6649
Joined: Tue Jan 23, 2007 3:55 am
Location: Austria near Vienna

Post by Kram1032 » Wed Dec 26, 2007 11:06 am

You have a mesh in the background, where the sun would be... How could the turbidity play any role? It only colours the sky ;) - You'll see *real* differences, if you set unrealistic (not recommended) values: 1.5 will look darkblue or black, 20 will look kinda green ;)

Then, you should add, that a "midnight sun" would give a violet sky, which is very unrealistic, but it happens due to the sky model. It's supposed to work correctly, between 0-12h ;)

The sun position *never* is important, as Indigo assumes the sun, we see, and not any alien sun, out there, in the universe... Or our Sun, as seen on the Venus (if you ever see a sun, there xD) or what ever ;)
The three angles (XYZ axis rotation) will define the direction of sunlight and everything.

The brightness of the sun also equals the correct brightness.
Lights of usual brightness react a bit unrealistic, as Indigo blacks (or greys) them out...

IES data is a special type of light data: It's very uncommon, that lights, especially when they're covered by bulbs or other shaped forms of glass, uniformly spread light in all directions.
These IES files have the amount of light saved in them, that glows in a certain direction. More realistic and in most cases also more interesting light sources are the result ;)

Missing:

HDR lighting

Background lighting (in most cases not the best choice, but especially, if you combine it in an effective way with coloured meshlights, it could get interesting)

The improved but slow sun system (you'll need to tweak a bit in the IGS... And you for sure wont have reasonable results, after those 10-20 min renders...

Difference Efficiency/simple gain

Difference RGB/Blackbody/Peak

and maybe, a bit less related, stuff like bloom+glare/3 types of tonemapping/caustics/indirect caustics/participating media.
(You can also copy and paste and give credit to CoolColJ's awesome tests, they already have included most, what you could say, about the last three points + are an excellent guide to correctly set up the Indigo camera... ;))

One thing to add: CoolColJ first tested with MNCR of 10000 as his preferred value, but he later (dunno, when, but I think, it was the Indigo release, that showed caustics from underwater, when you look down on it, for the first time) switched back to Indigo's default value of 1000 ;)

Great Sum-up, so far, well done :)

pxl666
Posts: 308
Joined: Wed Oct 10, 2007 10:10 pm

Post by pxl666 » Thu Dec 27, 2007 12:42 pm

"The improved but slow sun system (you'll need to tweak a bit in the IGS... And you for sure wont have reasonable results, after those 10-20 min renders... "

hey kram - any more details???

User avatar
dougal2
Developer
Posts: 2532
Joined: Wed Nov 15, 2006 8:17 am
Location: South London

Post by dougal2 » Thu Dec 27, 2007 12:56 pm

peak spectra:

there are 4 settings.

1. peak_min: this defines the center wavelength of the peak in the light spectrum, in units of nm
2. peak_width: this defines the width of the peak in the spectrum, in nm
3. peak_value: this defines the brightness/gain of the top of the peak
4. base_value: this defines the brightness/gain of wavelengths surrounding the peak

setting peak_value = base_value produces a flat spectrum = white light.

setting peak_value much greater than base_value produces coloured light, defined by where peak_min is in the spectrum.
Attachments
peak_spectrum.jpg
peak_spectrum.jpg (45.43 KiB) Viewed 15950 times

pxl666
Posts: 308
Joined: Wed Oct 10, 2007 10:10 pm

Post by pxl666 » Fri Dec 28, 2007 5:38 am

tut got updated - tell me what u think!

User avatar
Kram1032
Posts: 6649
Joined: Tue Jan 23, 2007 3:55 am
Location: Austria near Vienna

Post by Kram1032 » Fri Dec 28, 2007 9:46 am

Ok, mom, I'll send you some threads about that sky model.
I hope, I find some :)

About blending: As Emitters aren't real Materials for Indigo, you can't blend them.
It's somewhat like that:
The piece of Wolfram is the Material.
The orangeish light, that gets emitted, is the Emitter.
The Wolfram itself could be mixed with, say, copper, but it certainly wouldn't be that good anymore, for emitting light.
The light itself can't be blended. Two different lightsources of different lightcolour could mix their colour, but not one and the same light with itself ;)

Btw: Very nice update, but you didn't add the "midnight sun", yet...

Edit:
Ono didn't yet make the clouds freely accessible, but here, you can see the nice new sky system:
http://www.indigorenderer.com/joomla/fo ... ght=clouds

Here, you can see, what you'll need to handedit:
http://www.indigorenderer.com/joomla/fo ... &start=255
There's a button in blendigo, reading "extra atmospheric". It'll export a big sphere, an other big sphere-shell-sphere and a third big shell-sphere-shell-sphere.
The first is the earth, the second is the "close atmosphere" and the third the "far atmosphere".
It'll also export the "extra atmospheric" tag as "true".
You'll need to set it to false, in order to see the sky (DrBouvierLeduc was first, who found the actual difference, and Ono also explained it in that thread)

Here, you can see, what happens, if the extra atmospheric = true is used as it should be:
http://www.indigorenderer.com/joomla/in ... emId=20229
The earth sphere is textured, the moon sphere, added with correct size and distance and also textured.
The only things, added in post process, are the stars.

Besides Clouds, these things are missing:
Stars, according to your position
A correct moon (as you can see, this can be added by yourself)
In extremely far future, things like additional planets and other universe objects, or even a fully tweakable sun system, with multiple sun support (as most sun systems actually have twin suns, instead of singe suns, as we have) with including auto-planet-and-moon-creator and simulation of effects like gravitation lensing and stuff.......
Well, in very very far future, at least^^

Vanessa07
Posts: 312
Joined: Mon Sep 24, 2007 11:17 pm
Location: Suisse

Post by Vanessa07 » Sat Dec 29, 2007 2:59 am

Very nice fire, I tried a few month ago... too hot for me :lol:

Are you going to test different camera "iso" and "shutter"? :D

pxl666
Posts: 308
Joined: Wed Oct 10, 2007 10:10 pm

Post by pxl666 » Sat Dec 29, 2007 3:25 am

Vanessa07 wrote:Very nice fire, I tried a few month ago... too hot for me :lol:

Are you going to test different camera "iso" and "shutter"? :D
very good idea - ill think bout it later!!

impar
Posts: 3
Joined: Wed Feb 27, 2008 6:00 am

ies tweaking

Post by impar » Fri Feb 29, 2008 12:37 am

hello there
i use ies files with other software, and didn't understand how you change the ies preferences in this tut, inside indigo and blender!!!
how do you change the power of the lamps for exemple.
you have 5 diferent settings for the same ies file????
thanks
Paulo

pxl666
Posts: 308
Joined: Wed Oct 10, 2007 10:10 pm

Post by pxl666 » Fri Feb 29, 2008 5:55 am

ies parameters are constant unless u change the worldscale - this can affect ies power (light efficacy...)

User avatar
Kram1032
Posts: 6649
Joined: Tue Jan 23, 2007 3:55 am
Location: Austria near Vienna

Post by Kram1032 » Fri Feb 29, 2008 9:10 am

changing the world scale poorly also changes other effects, which might look different.
(Many camera settings also are size-related)

The slower way, that therefore would allow a more similar final result, would be, to simply open the IES with any text editor and multiply the values inside with a constant value:
If you want to have a light, shining ten times brighter, simply multiply the values by 10 ;)

Post Reply
19 posts

Who is online

Users browsing this forum: No registered users and 9 guests