Indigo for Revit Tutorial
This tutorial will cover getting Indigo running with Revit on your computer. We will use the Indigo for Revit exporter to export scenes to Indigo for rendering.
If you have not purchased an Indigo licence, you can still follow this tutorial. Indigo will run in trial mode, which will apply some watermarks to Indigo renders.
For this tutorial, we will assume that you have either Revit 2014 or newer installed already.
Step 1: Install Indigo for Revit
Download and run the latest Indigo for Revit 'Free Trial' installer here: http://www.indigorenderer.com/revit
For more detailed information on installing Indigo for Revit, please see the Installation section of this chapter.
Step 2: Rendering with Indigo from Revit
Start Revit and open the Sample Architecture Project.
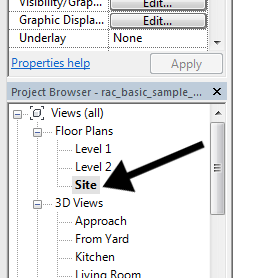
Due to limitations imposed on Revit plugins, Indigo for Revit cannot be used while in a perspective view. So we must first select a non-3D view from the views list, such as the Site view:
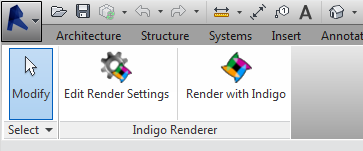
Having changed to a non-perspective view, we can access the Indigo Renderer section from the "Add-ins" menu:
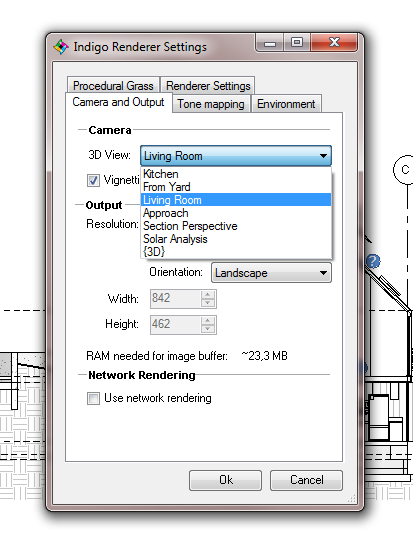
Click on "Edit Render Settings", then in the options dialog select the Living Room view:
Click Ok to save the settings, then click "Render with Indigo". After a brief export process, it should launch Indigo Renderer and begin rendering the scene from the selected view, which should look like this (example from Revit 2014):

Click to enlarge.