IES Lights
IES stands for the Illuminating Engineering Society, which has defined a file format for describing the distribution of light from a light source.
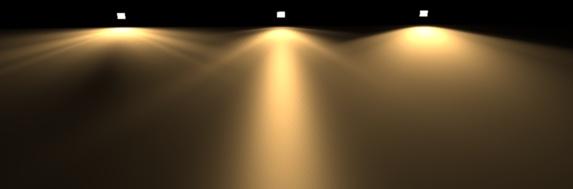
Using only a small, simple emitter such as a single quad, an IES profile will shape the distribution of light emitted from it to match that of a much more complicated light fixture, such as in the examples below:
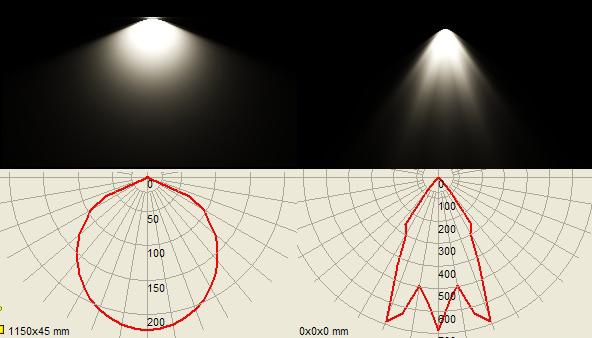
Digital Photometric data. With the basic Indigo profile Left, and an IES profile Right.
While Indigo is capable of creating real refractions of an accurately modelled light fixture to create this effect, it is far easier to use an IES profile, and the result is much the same. Many manufactures provide IES files for their lights, and it is a great way to add realism to your scene.
You can use an IES viewer to preview these profiles. There is a very good viewing program made by Andrey Legotin that can be found here: http://www.photometricviewer.com/
Setting up the scene
Firstly, we will set up a simple scene to show off the light effects. For this I have made a flat ground plane, to catch the light, and a small, single plane mesh above and perpendicular to it.
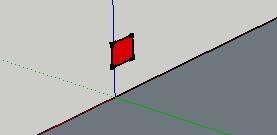
A single plane mesh raised off the ground
The plane will be our light-source, so select the it and assign it an emitting material in your Indigo plugin. Since we are working with artificial lighting, go to your environment settings and disable the sun and set a black background.
Hit render and you will get the standard Indigo light render like so:
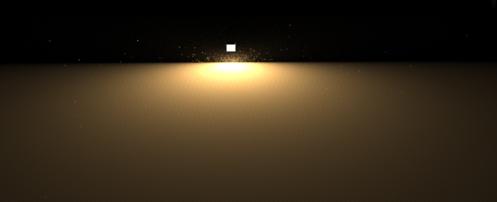
Render with no IES profile
Adding an IES profile
Open the material editor of your Indigo Plugin, under Emitter Attributes you will find the IES path. Download the zip of IES files here http://www.indigorenderer.com/dist/ies-profiles.zip and link to one. Hit render to view the new IES profile in your scene.

Render with IES profile
Note that Indigo does not support IES profiles with a vertical angle of more than 90degrees and will give an error if attempting to do so.