Compositing with alpha channel
The alpha channel specifies the amount of transparency present at each pixel in the rendered image, which is useful for compositing against background images in another image editing application, such as GIMP or Photoshop.
After modelling your scene, lighting it and framing it with the camera, find an image to use as a background that suits your scene. The camera angle, time of day or shadows, and the type of light (incandescent or fluorescent) are all important factors to keep in mind for a matching background image. The resolution of this image should ideally be equal to or greater than the size of the final rendered image.
-
Step 1: Render with alpha channel
To enable rendering with alpha channel output, either click the "Foreground alpha" checkbox in the Indigo render mode settings, or enable it from your exporter package:
SketchUp SkIndigo > Render Settings > Advanced > Tracing Method Cinema 4D Indigo for Cinema 4D Render Settings > Export Settings > Background alpha Blender Blendigo > Render Settings > Alpha render 3ds Max Maxigo > Export > Export Scene > Alpha Mode 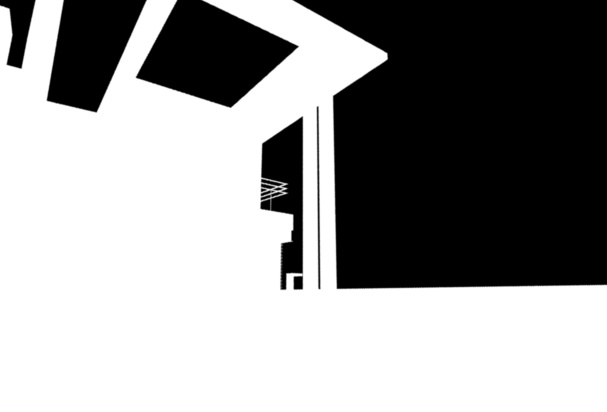
-
Step 2: Insert background image in Photoshop
You can now composite the two using an image editing tool such as GIMP or Photoshop; we'll use Photoshop here for illustration.
-
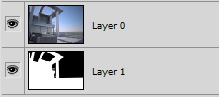
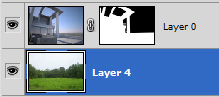
Put the both images together
-
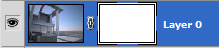
Create a mask for the real render by selecting the layer and clicking the add mask button Select the alpha layer and copy it.

-
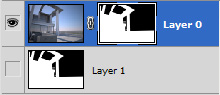
Win:Alt; Mac:Option + click the white mask to select it, and then paste the alpha render onto it.
-
Put an image under it and you're done!
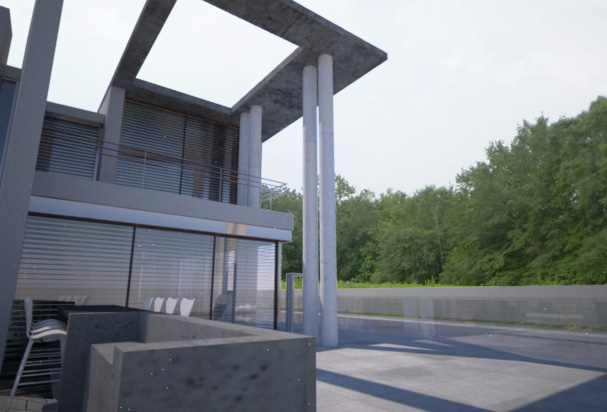
Final composite
Results: Notice the Sun & Sky is still present in the reflections of the windows and looks quite out-of-place. -
Put the both images together