SkIndigo Tutorial
This tutorial goes over generating a simple scene and lighting it a few different ways. The scene will be a typical German apartment with white walls, wood flooring and some furniture from Ikea. We won't be modelling the garage with an Audi, dog called Schatzi and traditional lederhosen.
This tutorial was done for SketchUp 2013 free version; your SketchUp may look slightly different, and basic familiarity with SketchUp (e.g. navigation and selection) is assumed.
Step 1. Create the basic room
First up we will model the room. Start by drawing a rectangle on the ground and another rectangle just inside it. Your rectangle should be 12 metres by 12 metres, look at the dimensions box in the bottom right of your window to see the size as you drag the box out.
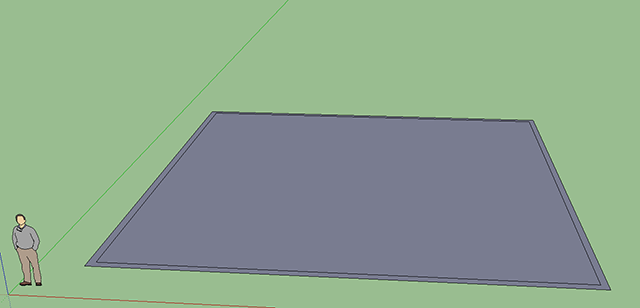
The ground plan of our room
Use the push/pull tool to make the walls 3.5 metres high. We won't put a roof on the box just yet so that we can see inside it. The next step is to put a big floor-to-ceiling window at the front of our box: use the rectangle tool to draw a rectangle on the front of the box, then use the push / pool tool to push the new rectangle inwards until the wall is paper thin.
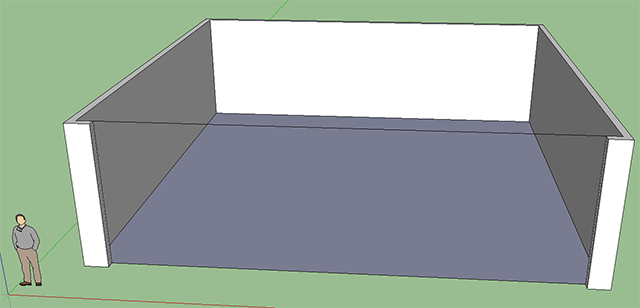
Our room with a paper thin front wall.
Now click on the paper thin wall and delete it. Don't delete the line at the top of your room, we'll need that in a second. Now press Plugins → SkIndigo → Render Scene and you will get a render like this:

Derrick standing outside his new house, in free space.
Step 2. Add window and roof
For the next step, we will add a roof and a window and set a wooden texture on the floor and a glass window. Start by using the rectangle tool to enclose the roof. Then draw a rectangle on the wall of the left hand side and use the push / pull tool to push the rectangle through to the inside. Delete the paper thin wall that is left and you should have a window hole like so:
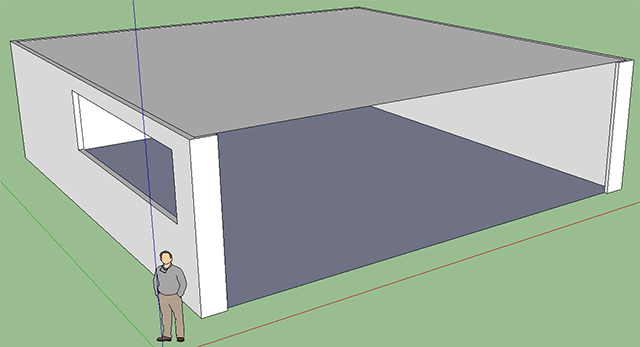
Our box room with a window and a roof.
As a final step, use the Move tool to put Derrick somewhere side the house.
Step 3. Paint a wood texture on the floor
Next, press the Paint Bucket tool and the SketchUp materials dialog will open. Select wood from the selection box:

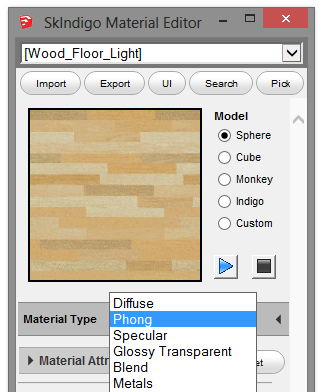
Now choose wood_floor_light as a texture. Then click on the floor. Your floor will now be textured, however to get a more realistic appearance for a varnished floor, we need to change the material type to Phong.
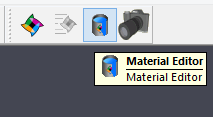
To do this, we first open up the SkIndigo Material Editor from the SkIndigo toolbar:
With the material open in the SkIndigo Material Editor, change the material type to Phong:
Zoom in the camera a little and hit render – your house should look like this:
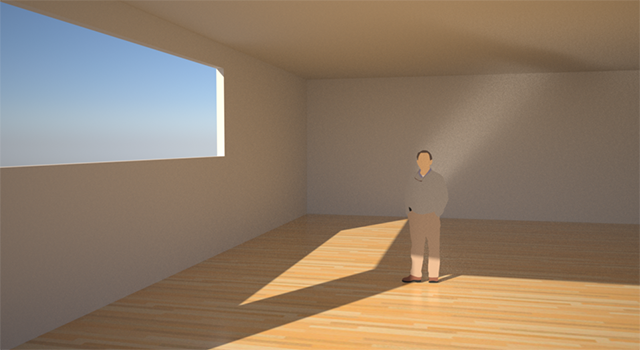
Derrick in his new house with a roof, window and a floor.
Now right click on the floor and select Texture → Position. Rotate the wood texture 90”. You can also scale the wood texture if you want.
Step 4. Add some carpet
Carpet is a tricky thing to model because it has so many individual fibres. The best way of creating a carpet in SkIndigo is to use what is called a displacement map.
Start by drawing a rectangle on the floor and using push/pull to make it into a box of 3cm height. Then use the select tool Edit → Make Group.
When we add a displacement map, it will make our "carpet box" very bumpy, which means the edges of the box won't line up. To prevent gaps appearing, right click on the carpet and select Soften / Smooth Edges, choose a value of 90 degrees between normals and press enter.

Our carpet box ready to texture map.
Next, using the paintbrush tool, select the Carpets and Textiles set and the Carpet_Plush_Charcoal texture. Apply it to the carpet box. Right click on the carpet box and choose SkIndigo → Edit [Carpet_Plush_Charcoal]. The SkIndigo Material Editor will open:
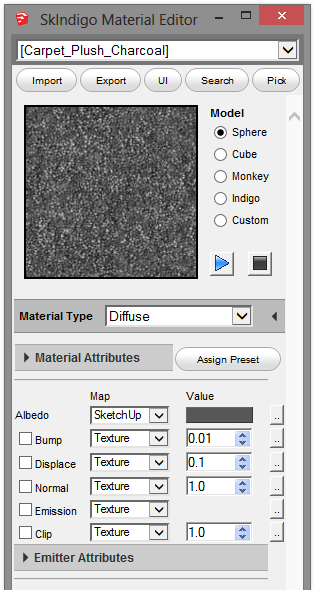
SketchUp material editor
Note that the Albedo channel (which means the color of the material) is already set to the SketchUp carpet texture.
Now, change the displacement map to "SketchUp" which will tell SkIndigo to use the current SketchUp texture as the displacement map. Then change the value to 0.05 which will give a maximum displacement of 0.05 meters where the map pixel value is pure white. Be sure to enable displacement mapping by clicking on the checkbox.
Press Plugins → Skindigo → Render Scene, you may note that the carpet looks all triangulated and bumpy. You may need to increase the "detail" of the carpet by adding more subdivisions. Right-click the group and, from the Edit Active Mesh dialog, increase Max Subdivisions to at least 9. Also, uncheck the box for "View Dependent". This setting will decrease the amount of subdivision for geometry that is farther away from the camera, but we'll leave this optimisation for now.
Render the scene again.
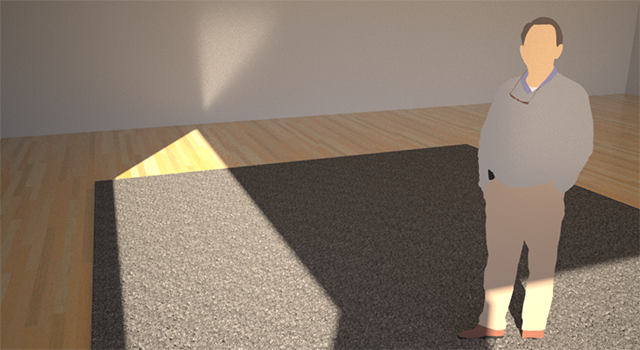
Derrick admires his nice grey carpet.
Step 5. Add a chair and lamp
Use Windows → Components menu to show the components window. Search for Barcelona chair and insert one into the scene. Then search for Kare 5701 (a lamp) and insert it into the scene too.
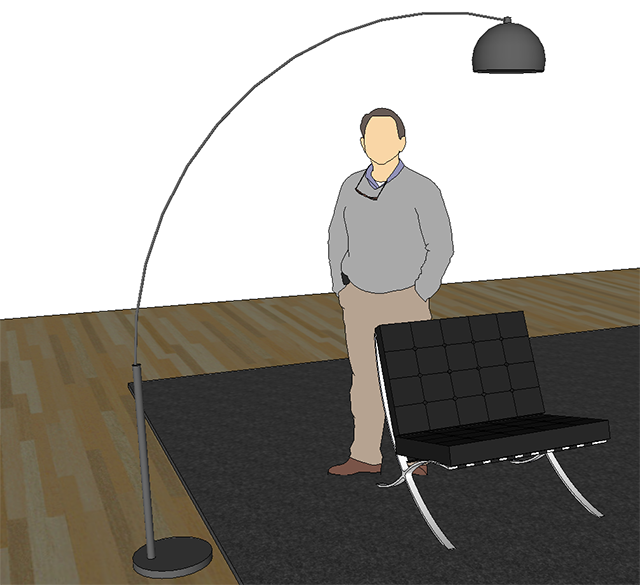
Scene with a lamp and chair added.
In the Material Window click New Material to create a new material. Name this material "Chrome" and apply it to all of the surfaces of the lamp (Use SkIndigo → Edit [Chrome]). Then, in the SkIndigo Material Editor, change the material type to Metals, and select the Chrome preset from the dropdown box.
If you now render the scene, it should look like this:

Lamp has a shiny material applied.
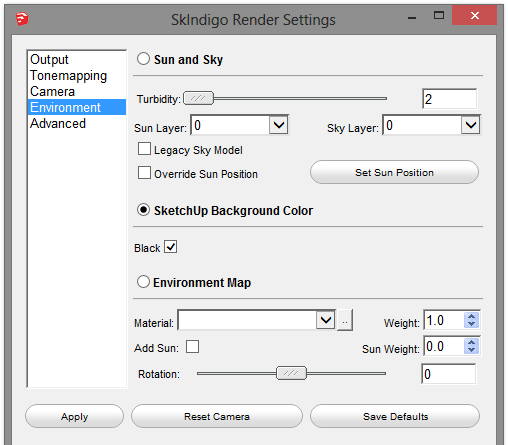
Step 6. Adding nighttime lighting
Now we will try adding a lightbulb inside the lamp and taking a night scene. Start by turning off the sun by going to Plugins → SkIndigo → Render Settings, then Environment. Select SketchUp background color and make sure Black is selected like so:
Now we need to add a light inside the lamp. Double click the lamp to edit it, then look inside the lampshade and create or select the lighbulb inside it (your lamp may look slightly different, you may have to create the lightbulb yourself).
Create a new material called Lightbulb, then right click on the bulb SkIndigo → Edit [Lightbulb] material, then set the Albedo to be a constant black (since we don't want the lightbulb itself to reflect light), and set the Emission layer to 0 in the Emission section of the material editor.
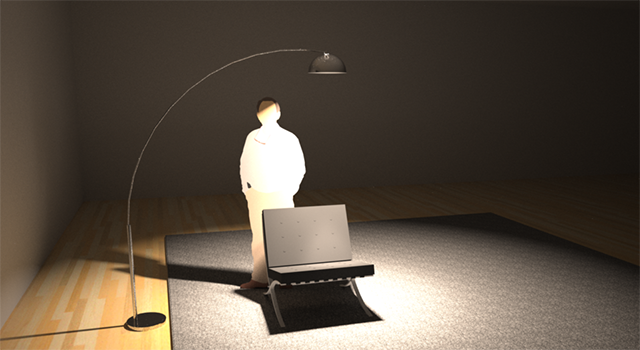
Our house illuminated from a single 5000K emitter.
Step 7. Finetuning
The trick to getting really realistic renders from SketchUp + Indigo is to spend time tweaking your materials until they look just right. In this example we used models from the Google Warehouse that are relatively low in polygon count, so don't look ultra realistic, but by carefully editing the materials used on the models you can make the scene look better and better.
One of the advantages of Indigo is that if you set a 100 Watt lightbulb in a lamp, you can see how the light will fall off around the room, useful for doing lighting analysis – will you need more light fittings in the corner of the room?
To increase the realism of this scene, you could:
- Increase the Mesh Subdivision of the carpet to 10. This will make the carpet seem finer grained and more "fluffy".
- Add a bump map to the floor material, of height 0.1 centimetres, to simulate the grain of the wood.
- Reduce the "exponent" of the chrome material to make the floor lamp less reflective.
As you can see there are many options that you can tweak to get the best possible results out of Indigo.
Creating ultra realistic scenes that look like something from the real world is usually achieved by recreating all of the models in the scene with accurate geometry, and then spending 30-40% of your time modifying materials in the scene to ensure that they are as realistic as you would like them to be.
We hope you have enjoyed this brief introduction to SkIndigo.