Compositing your scene into an environment
Scene with HDR environment map
Often it is not economical to model and create an environment for your scene to sit in, and it is a common technique to composite elements together to fake it.
There are three main techniques for doing this; the first and easiest is to use alpha compositing. The second method, which gives the best results, is to use an environment map, and the third is to use image planes (or "background cards").
Compositing with alpha channel
The alpha channel specifies the amount of transparency present at each pixel in the rendered image, which is useful for compositing against background images in another image editing application, such as GIMP or Photoshop.
After modelling your scene, lighting it and framing it with the camera, find an image to use as a background that suits your scene. The camera angle, time of day or shadows, and the type of light (incandescent or fluorescent) are all important factors to keep in mind for a matching background image. The resolution of this image should ideally be equal to or greater than the size of the final rendered image.
-
Step 1: Render with alpha channel
To enable rendering with alpha channel output, either click the "Foreground alpha" checkbox in the Indigo render mode settings, or enable it from your exporter package:
SketchUp SkIndigo > Render Settings > Advanced > Tracing Method Cinema 4D Indigo for Cinema 4D Render Settings > Export Settings > Background alpha Blender Blendigo > Render Settings > Alpha render 3ds Max Maxigo > Export > Export Scene > Alpha Mode 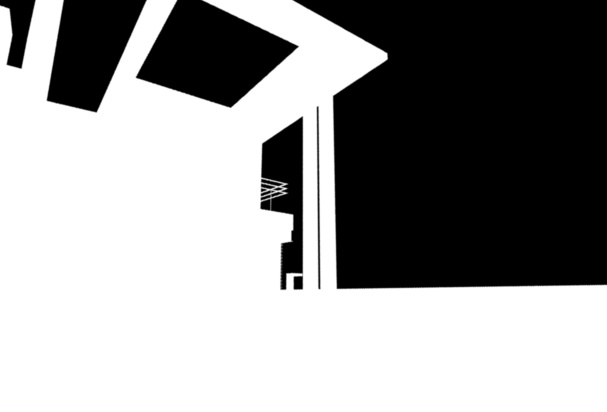
-
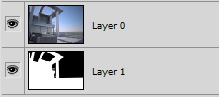
Step 2: Insert background image in Photoshop
You can now composite the two using an image editing tool such as GIMP or Photoshop; we'll use Photoshop here for illustration.
-
Put the both images together
-
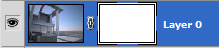
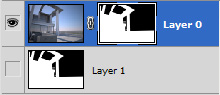
Create a mask for the real render by selecting the layer and clicking the add mask button Select the alpha layer and copy it.

-
Win:Alt; Mac:Option + click the white mask to select it, and then paste the alpha render onto it.
-
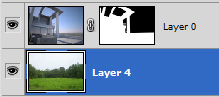
Put an image under it and you're done!
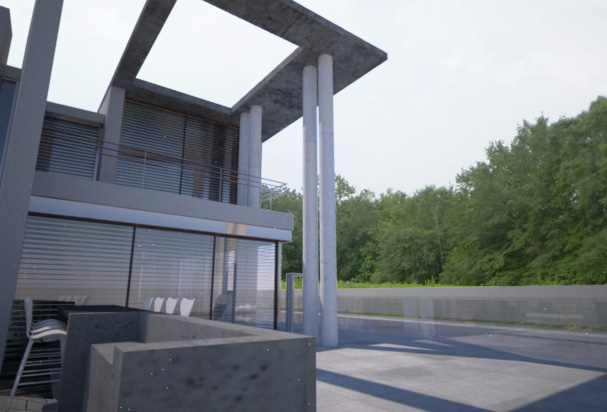
Final composite
Results: Notice the Sun & Sky is still present in the reflections of the windows and looks quite out-of-place. -
Put the both images together
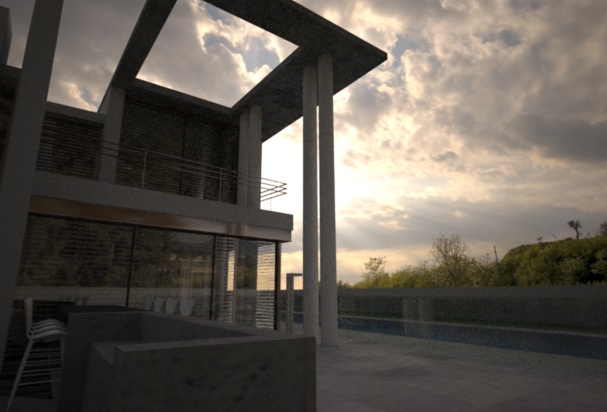
HDR Environment Map
An HDR environment map is an image that fully wraps around your scene to create the effect of having a background, and also emits light. It is important that you use an HDR environment map that has good light, especially if it has the sun in it – the sun is many thousand times brighter than anything else and will only cast good shadows if it has been captured right. This technique gives the best results because all the reflections from the materials will accurately respond to the 'environment' as if it were real. But it is difficult to find a good HDR environment map for free – and can be difficult to make your own. I am using an HDR environment map found from openfootage.net
-
Download an .EXR or .float HDR map. Indigo does not support .HDR files, but there are good converters out there. Try Picturenaut.

Italian field from openfootage - In your render settings, change the environment to Environment Map and set your HDR environment map.
- Render! If the environment map is too dark, or not positioned correctly, you can change the gain for brightness, and rotation to change its position.

Final render
Results: The scene is effected by the light of the environment map and you can just see reflections of trees from the map in the windows.
Image Planes
This technique is a bit of a cheat really. It involves taking a picture of a background that you would otherwise composite, and texturing them onto a large flat plane. The trick is to get a large enough image that it fills the whole background of the render.
- Create a massive plane that sits directly behind your model, and fills the camera's view. Texture it with your background image and resize it so it fits nicely.
- Copy this front image plane and mirror it behind the camera to create a back-plane.
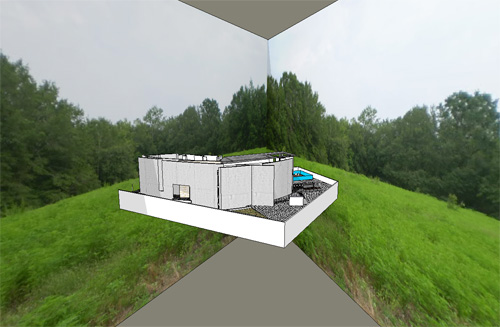
Sketchup scene with massive image planes arranged - To create a convincing background, light must come from the image planes, or they will catch shadows and look fake. Add emission to the textured material, as an emission texture. This will emit light from the surface based on the texture itself. In SketchUp, simply change Emission to SketchUp. I've also set the emission color to white and power to 200.
- Render with sun & sky for good shadows, or you could even just use background colour.

Render with only a front image plane

Final render
Result: (excuse the tonemapping) The bottom has reflections in the windows and a mostly convincing background. It looks alright.